20번째 수업(0529)
과제 - test 데이터 중 0번째 숫자 출력
"""train-images-idx3-ubyte.gz
   train-labels-idx1-ubyte.gz
   t10k-labels-idx1-ubyte.gz
   t10k-images-idx3-ubyte.gz
"""
from google.colab import files

uploaded = files.upload()
import gzip
import numpy as np
import matplotlib.pyplot as plt
import struct
# 데이터 로드 함수
def load_mnist_images(filename):
with gzip.open(filename, 'rb') as f:
_, num, rows, cols = struct.unpack('>IIII', f.read(16))
images = np.frombuffer(f.read(), dtype=np.uint8).reshape(num, rows, cols)
return images
def load_mnist_labels(filename):
with gzip.open(filename, 'rb') as f:
_, num = struct.unpack('>II', f.read(8))
labels = np.frombuffer(f.read(), dtype=np.uint8)
return labels
# 파일 경로
train_images_path = 'train-images-idx3-ubyte.gz'
train_labels_path = 'train-labels-idx1-ubyte.gz'
test_images_path = 't10k-images-idx3-ubyte.gz'
test_labels_path = 't10k-labels-idx1-ubyte.gz'
# 데이터 로드
train_images = load_mnist_images(train_images_path)
train_labels = load_mnist_labels(train_labels_path)
test_images = load_mnist_images(test_images_path)
test_labels = load_mnist_labels(test_labels_path)
# 데이터셋 확인
print(f"훈련 이미지: {train_images.shape}")
print(f"훈련 레이블: {train_labels.shape}")
print(f"테스트 이미지: {test_images.shape}")
print(f"테스트 레이블: {test_labels.shape}")
# 이미지를 시각화하는 함수
def show_mnist_image(index, dataset='train'):
"""주어진 인덱스의 MNIST 이미지를 표시하고, 값을 출력합니다."""
if dataset == 'train':
images, labels = train_images, train_labels
elif dataset == 'test':
images, labels = test_images, test_labels
else:
print("Dataset should be 'train' or 'test'.")
return
if index < 0 or index >= len(images):
print(f"Index {index} is out of bounds for MNIST dataset.")
return
image = images[index]
label = labels[index]
# 이미지 시각화
plt.figure()
plt.imshow(image, cmap='gray')
plt.title(f"Label: {label}")
plt.colorbar()
plt.grid(False)
plt.show()
# 이미지의 픽셀 값을 출력 (28x28 형식으로)
for row in image:
print(' '.join(f'{pixel:3}' for pixel in row))
# 사용자 입력에 따른 이미지 표시
while True:
user_input = input("이미지 인덱스를 입력하세요 (-1을 입력하면 종료): ")
try:
index = int(user_input)
if index == -1:
print("프로그램을 종료합니다.")
break
show_mnist_image(index, 'test')
except ValueError:
print("유효한 숫자를 입력하세요.")
▶정규화
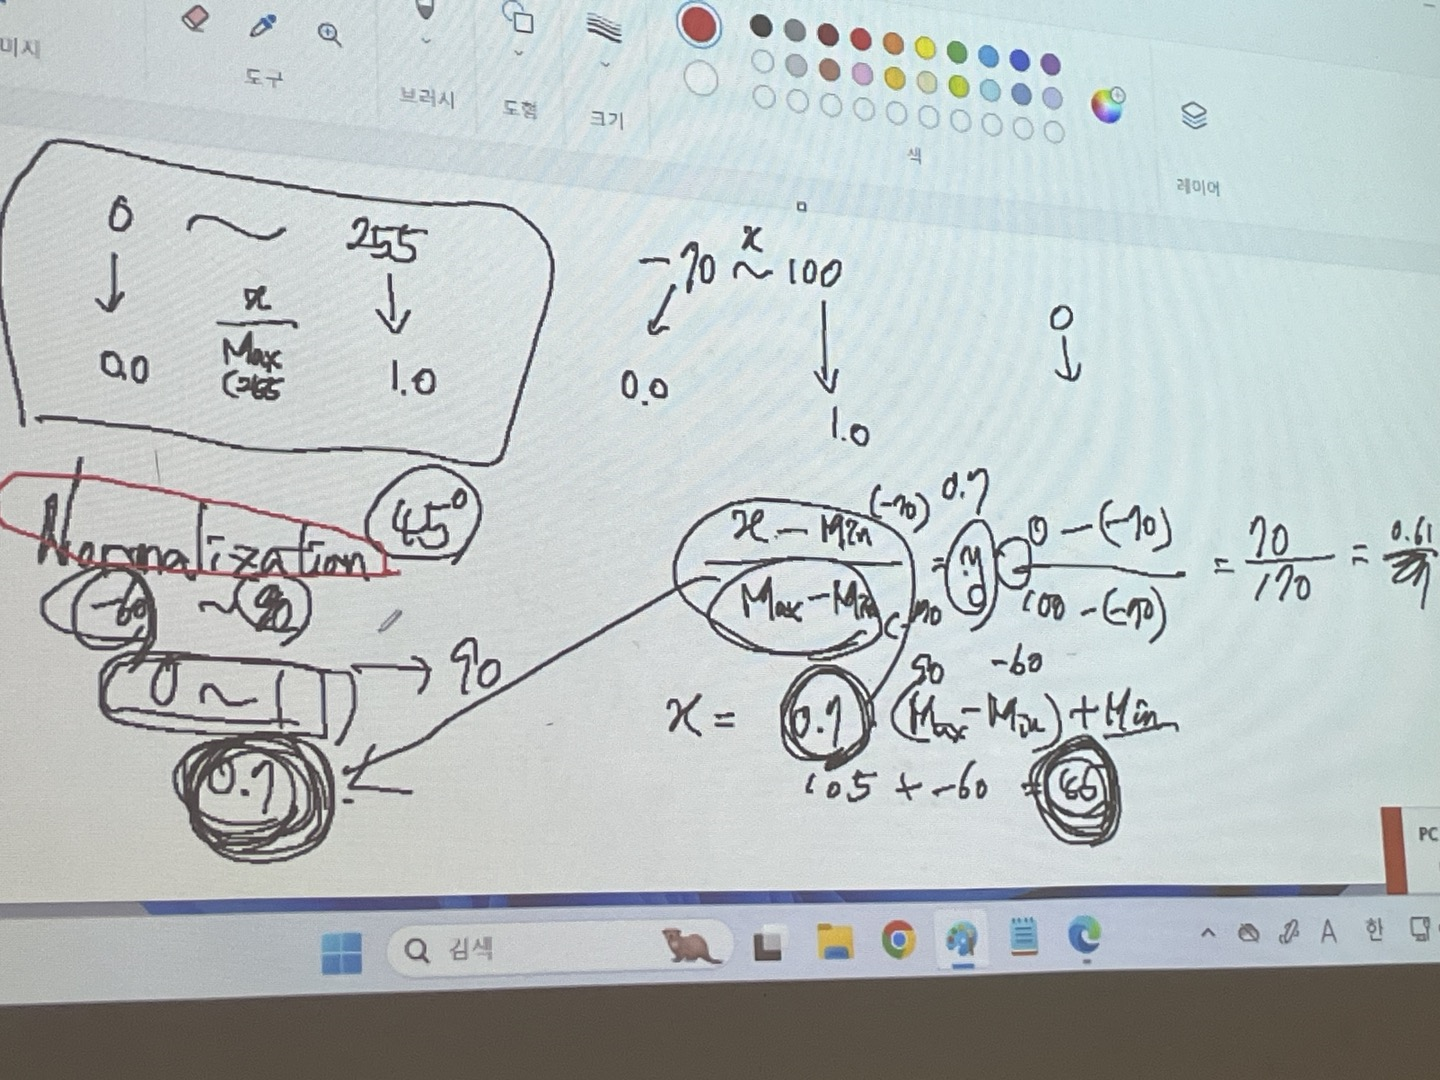
0부터 255 까지의 숫자를 0부터 1까지의 숫자로 나타내려면
각 수를 255로 나누면 됨
-70부터 100 까지의 숫자를 0부터 1까지의 숫자로 나타내려면
x - min(-70) / max-min(100-(-70)) = 70 / 170
그래서 출력이 0.7이 나왔으면 0.7 * (max-min) + min = 0.7 * 100-(-70) + min = 45

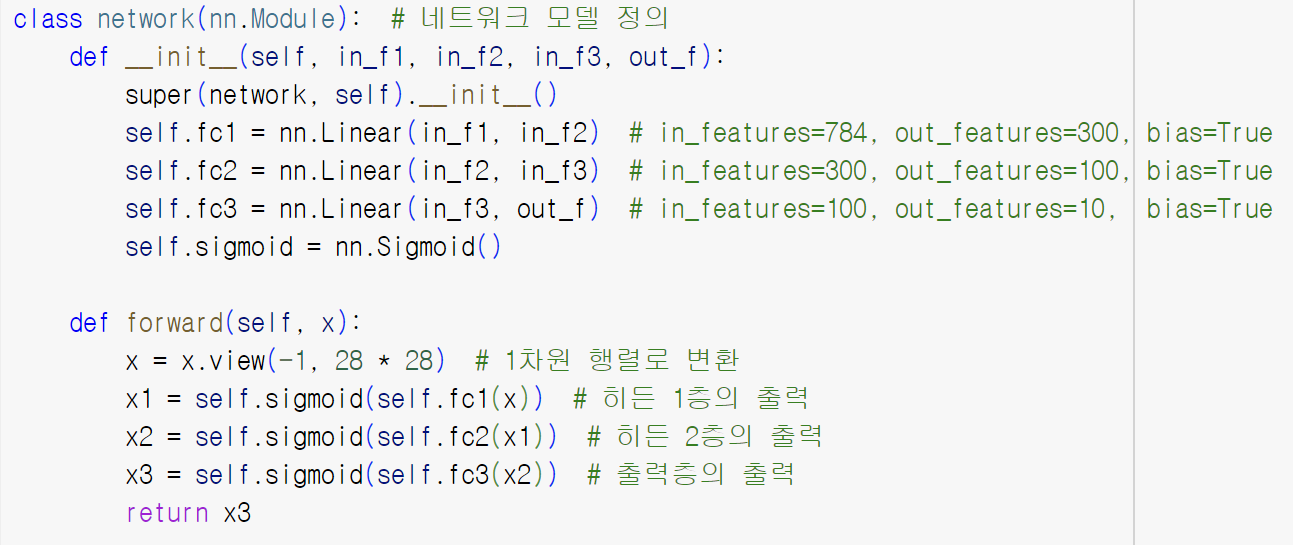
다음 코드에서 fc는 fully connected 의 약자이다.

위 함수에서 in_f1, in_f2, in_f3, out_f 는 아래 그림에서 표현하는 바와 같다.
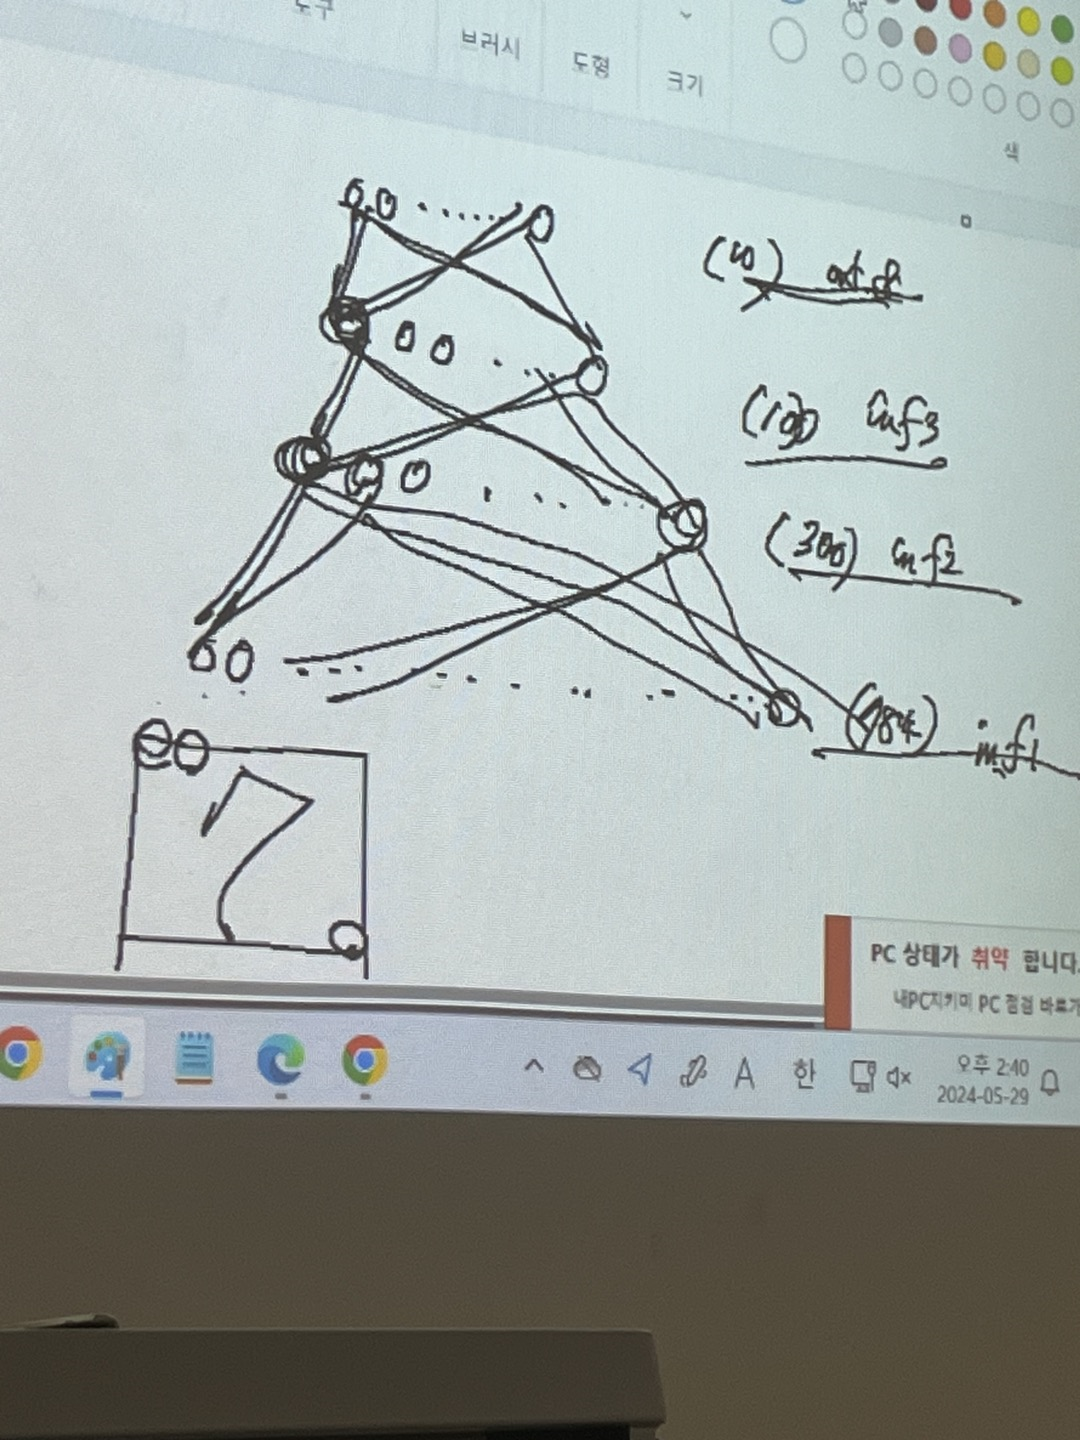

input = 784 개 , h1 = 300개, h2=100개, output = 10개

model.to(device) → CPU 의 네트워크(model)을 GPU 로 이동
GPU로 보내려면
1. 컴파일된 프로그램을 보내야한다.
2. 데이터를 보내야한다.


필수조건 3가지 : 네트워크, 로스, 최적화
Adam 은 SGD 와는 다른 학습법

predicted 는 1 0 0 0 0 0 0 0 0 0
0 1 0 0 0 0 0 0 0 0
.... 중 가장 큰 값을 저장하고
만약 torch 에서 0.3 / 0.96 / 0.1 / 0.1 / 0.2 / 0.3 / 0.1 / 0.1 / 0.1 / 0.1
라는 값이 나오면 torch.max(outputs, dim=1)[1] 은 1을 출력한다.